Showing posts with label how to. Show all posts

Wednesday, January 2, 2019

Quick and easy chicken burgers


One of the staples in our household is chicken burgers. They're relatively easy to make and freeze great. They're super juicy, tasty, and a hit with our kid. The recipe is very forgiving so if you're missing some things you can just make it with ingredients you have on hand.

Ingredients:
  • 2 lbs ground chicken (we use organic thigh meat which has a higher fat content)
  • 1 slice of whole wheat bread - ground up (or any type of bread you have)
  • 2 tablespoons worcestershire sauce
  • 1 tablespoon dark soy sauce
  • teaspoon salt
  • 1/2 onion run through a grinder (optional). Alternatively you can just add diced pan-fried onions to the meat mixture.
  • 1 teaspoon garlic granules (optional)
  • 1/2 teaspoon cumin (optional - I don't really like the flavor so I prefer leaving it out)

Typically we'll use about 2 pounds worth of ground chicken which makes about 8 regular or 10 small patties.
Grind up one slice of whole wheat bread (or any kind of bread you have on hand).
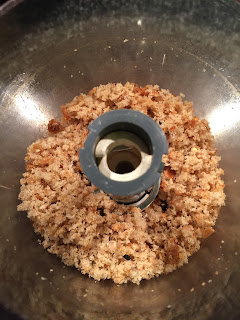
Here's how fine the ground up bread crumbs should look - smaller than the size of peas.


Put the bread crumbs into a large mixing bowl.
Onion is optional but it makes the burger extra juicy. I've also used chopped up mushrooms instead of onion.

Grind up onion to a very fine consistency.


Add the chicken and onion to the breadcrumbs in the bowl.

Alternatively you can add diced pan-fried onions instead of ground up onion.


Add worcestershire sauce, soy sauce, salt, and garlic granules. You can also salt each patty when you cook them instead of adding it to the meat mixture - you'll end up using less salt this way.


Mix everything so it's incorporated. Don't over mix otherwise the meat will be tough.


Spoon the mixture into a frying pan on medium heat and shape into patties. Salt each side if you didn't add salt to the meat mixture.


Flip over when a nice brown crust develops (takes a few minutes).


Makes about 8-10 patties - pop whatever you don't eat into the freezer.


We prepare our burgers with typical fixings - toasted buns, grilled onions, ketchup, pickles, lettuce or spinach, a slice of tomato, and avocado.

Sometimes I'll have the patty in a wrap when we don't have burger buns on hand or I'll just use regular sandwich bread.

Juicy and delicious. You might have more than one!


Tuesday, December 4, 2018

Easy 3 ingredient chocolate mousse

Easy 3 ingredient chocolate mousse requires just
semisweet chocolate, heavy whipping cream, and gelatin

Here's the perfect recipe if you want to make chocolate mousse that doesn't use raw egg whites!

Ingredients:
  • 1 cup semisweet chocolate
  • 1/2 cup heavy whipping cream
  • 1 teaspoon gelatin + 1 tablespoon + 1 teaspoon cold water
  • 2/3 cup cold heavy whipping cream to fold into chocolate mixture

Step 1:

I don't have a picture of this but mix 1 teaspoon gelatin with 1 tablespoon and 1 teaspoon of cold water in a glass cup. Set aside and let it swell for 5-10 minutes.

Melt 1 cup semisweet chocolate with 1/2 cup heavy whipping cream over a double boiler.

Make sure the water in your double boiler isn't too hot. The cream just needs to be warm to melt the chocolate.


This is what the chocolate and heavy whipping cream mixture should look like as it starts to melt.


My daughter came home while I was making this and she insisted on pulling up a chair to help. Now you know that this recipe is so easy that a 3 1/2 year old can make it. :o)


Step 2:

Heat up the gelatin - I put the glass cup of gelatin into the warm water from my double boiler. The heat from the water melts the gelatin and turns it back into a liquid.

Mix the gelatin into the chocolate and heavy whipping cream mixture.

Set aside to let it cool.


Step 3:

Whip 2/3 cup cold heavy whipping cream in a bowl.

Whip until soft peaks form.


Step 4:

Add chocolate to the whipped cream.


Step 5:

Incorporate the chocolate into the whipped cream. I use one of the beaters from my hand mixer and mix everything in a figure 8 pattern.


This is what the mixture should look like when it's been fully incorporated.


Step 6:

Spoon the chocolate mousse into cups and chill in the refrigerator.

I also put the mousse into small mason jars - perfect for travel to a friend's house.

Bonus - scrape out the bowl and lick all the spoons when you're done!


Friday, June 1, 2018

Uses for common household products like baking soda


I'm no domestic goddess but I love incorporating products I already have at home into my cleaning and beauty routines. I especially love it when ingredients I use are inexpensive and free of toxic chemicals. Here's a list of some of my go-to home remedies.


Coconut oil
  • Makeup remover: A little dab is enough to take off all your eye makeup. Even waterproof mascara!
  • Eyelash conditioner: Side benefit of using coconut oil as an eye makeup remover is that it conditions your eyelashes.
  • Moisturizer: I'll use coconut oil in place of lotion. Great for the face, body, lips, even cuticles and nails. Perfect for travel because I only bring one thing! It's a little hard to pack though because it'll melt in warm climates. I just put a clump into a plastic ziplock bag. You can also keep coconut oil inside a small jar and just chip away at it when you need some. Just make sure to get a jar with a tight lid so that it doesn't spill when you're in a warm environment.
  • Teeth whitener: I haven't tried it but my mom swears by this and I have to say her teeth do look whiter to me. After brushing she'll smear a dab all over her teeth and go to sleep. Side benefit - it's okay if you swallow it!

Baking soda
  • Clean stainless steel: Remove grease stains from your stainless steel appliances and cookware with just a paper towel, baking soda, and a sprinkle of water. I have a stainless steel tea kettle that I clean by getting the outside wet, sprinkling it with baking soda, and using my fingers to clean. I can feel the grease splatters come off. Your tea kettle will shine like new. Don't be surprised if you start cleaning everything else in your kitchen. It's addicting!
Stainless steel frying pan that went through the dishwasher - still has grease stains

Wet the pan, pour out excess water, sprinkle with baking soda, and scrub it using a dry paper towel
Wet the pan, pour out excess water, sprinkle with 
baking soda, and scrub it using a dry paper towel

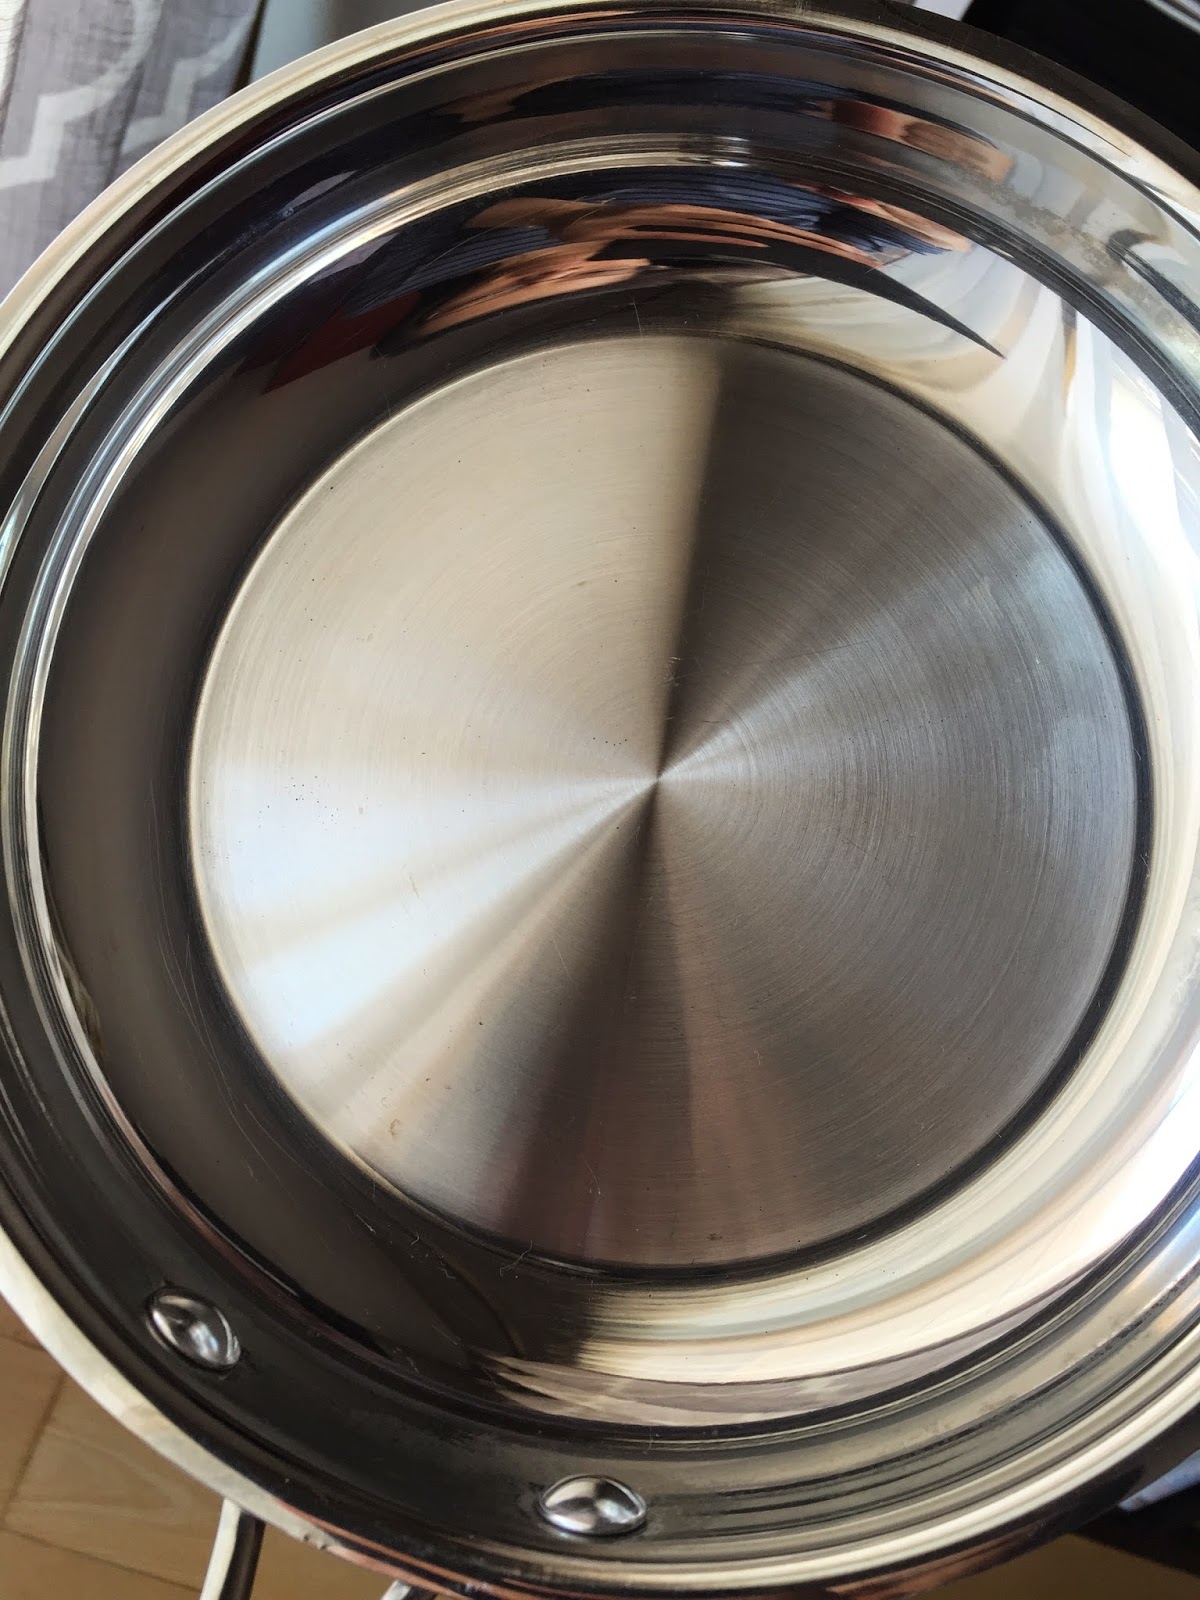
Voila! All clean! Just like new.

  • Remove tea and coffee stains: Cover tea and coffee stains with a paste of baking soda and water, scrub off.
  • Remove battery corrosion: I learned this from my friend Cindy. Make a paste with baking soda and a little water to remove battery corrosion and build up on contact points.
  • Remove laundry odors: Add 1/2 cup to your wash for added freshness. Also great for getting the musty smell out of towels.
  • Clean carpets: Spot clean stains from your carpet with a paste of baking soda and white vinegar. Scrub it in, let it dry, then vacuum it up. Test on a small corner though because you may end up with very clean patches that highlight just how dingy the rest of your carpet is.
  • Remove rust stains from metal: Make a paste of baking soda and water, spread on the rust, and scrub it off.
  • Shampoo booster: Add a little baking soda to your shampoo to reduce scalp build-up.
  • Clean your tub: Scrub off soap scum and unsightly build-up with plain baking soda and a little water. No toxic chemicals!
  • Remove hard water stains from glass: Form a paste of baking soda and a little water, spread on water stains, and scrub off using a rag, sponge, or old toothbrush. I've used this on the bottom of my cloudy-looking glass shower doors. It may take a few applications to make everything spot-free.

Sugar
  • Face scrub: Make a scrub with brown sugar, honey, and a few drops of olive oil. Sometimes I'll add a squeeze of lemon. Great exfoliant and it can go down the drain without any negative impact to the environment! 

Salt
  • Clean your cast iron skillet: Scrub out your cast iron skillet with a mixture of coarse sea salt and oil.
  • Sore throat gargle: Make a solution of warm water and salt and gargle with it to reduce the inflammation in your throat. Instant relief!

White vinegar
  • Fresher laundry: Similar to baking soda, add 1/4 cup to your wash to boost freshness. A little vinegar enhances the smell of laundry detergent. Ahhhh.
  • Strawberry stain remover: Soak strawberry stained clothes in a mixture of liquid laundry detergent and white vinegar for about 10 minutes. Stain is gone and ready to go into the wash.

Plain cold water
  • Blood stain remover: Did you cut your finger and bleed over your shirt? The best way to get fresh blood out of clothes is to simply rinse and soak it in cold water. After I get out what I can with just plain water I just scrub out the stain with a little soap or laundry detergent.

Honey and cinnamon
  • Alleviate gum irritation: Make a paste of honey and cinnamon and dab onto irritated gums. If the irritation is below the gum line, coat dental floss with the honey and cinnamon mixture and floss with it.
  • Sore throat soother: I love drinking a mixture of hot water, honey, and lemon whenever I have a sore throat.

Rubbing alcohol
  • Remove ink stains from leather and suede: Dab the ink stain with a cotton swab dipped in rubbing alcohol. The stain will lift off and transfer to the cotton swab.
  • Remove sticker residue: Soak and rub the sticky residue with rubbing alcohol. It'll be gone in seconds. Note: I've mostly used it on glass, ceramic, and other smooth surfaces. Not sure what happens with wood or other porous material.

Hair dryer
  • Remove wax from your table: Did you drip candle wax on your dining or coffee table? Blast the drops with your hair dryer and wipe them away as they soften under the heated air.

Bar soap
  • Unstick a sticky zipper: Rub a bar of dry soap up and down the zipper teeth of a sticky zipper to get it unstuck. You might need to zip/unzip and rub the soap on the zipper a few times.

Pencil eraser
  • Remove oil stains from leather and suede: We've done this with our leather couch. "Erase" oil stains by rubbing it with a pencil eraser (white eraser is best). Easy as that!

Uncooked rice
  • Hot compress: Create a re-usable hot compress for sore muscles by putting a scoop of uncooked rice into a clean sock. Tie the end of the sock so the rice doesn't spill out. Microwave for 20-30 seconds and you've got a hot compress that lasts 5-7 minutes. Watch out, it's hot! To prevent burning yourself, place a tissue between the sock and your skin. Side benefit - your hot compress smells like fresh cooked rice. Yummm...
  • Scrub out bottles: Clean out rancid oil from bottles - fill the bottle with a little warm water, a few drops of dishwashing detergent, and a little bit of uncooked rice. Shake the bottle to get the rice moving - it'll scrub out a bit of caked on oil each time. It may take a few sessions to clean it out thoroughly.
  • Dry out electronics: Did you drop your iPhone in the toilet? Dry it out by putting it in a bag of uncooked rice. I've actually never tried this myself but I'll take other people's word for it that it works!
  • Ripen mangos: Enjoy mangos sooner by burying them in uncooked rice. This method can shave days off the ripening time.

Do you have any tips you'd like to share? Please post below!

Friday, January 26, 2018

Instant Pot bone broth soup


So you've got yourself an Instant Pot or you're already an Instant Pot fanatic... Congrats and welcome to the party! Almost everyone I know who has an Instant Pot raves about it. I use mine predominantly to make hard boiled eggs, chicken, and soup.

I want to share my go-to bone broth recipe which I immediately turn into a soup rather than just broth that I store for later use. I've seen many recipes require a cooking time of 120 minutes but I get a very flavorful soup in just 90 minutes total.

Prep time: 15 mins
Total cooking time: 90 minutes

Ingredients:
  • Bones (I use mainly chicken drumsticks)
  • 1 onion, cut in slivers
  • 5-6 carrots, coarsely chopped
  • 3-4 cloves of garlic, smashed and coarsely chopped
  • Salt

Instructions:


Step 1:

- Add bones to the Instant Pot
I stockpile chicken drumsticks and other bones (i.e., pork ribs) and make the soup when I have a gallon freezer bag worth of bones.
Step 2: 

Add enough water to cover the bones making sure it doesn't surpass the MAX line in the Instant Pot.

Step 3:

- Soup mode
- Increase time to 60 mins
- Quick release at the end of 60 mins


This is what the broth looks like after 60 mins of cooking time. I remove the large bones with tongs and strain everything else out.
We don't have a bunch of kitchen tools so we make do with what we have. I create a straining system by putting a metal colander over a tea strainer on top of a large saucepan. :o)


Step 4:

Strain the broth


Here's what the strained broth looked like. Notice the layer of oil on top.

Step 5:

Pour the broth back into the Instant Pot
As I pour it back in, I strain it again over a fine mesh


I add an onion, carrots, and garlic to finish out the soup.

Step 6:

Peel and do a large chop on the carrots

Step 7:

- Crush the garlic
- Cut the onions into thin slivers so they "melt" into the soup

Step 8:

Add all the veggies back into the Instant Pot

Step 9:

- Soup mode
- 30 mins
- Quick release after 30 mins

You can enjoy the soup after this step but if you want to remove any oil that's produced during the cooking process, move on to step 10.

Step 10 (optional):

- Refrigerate the soup so that the oil solidifies on top
- Skim off the layer of oil
- Skimming may be a little challenging because the broth below is all gelatin, not liquid
- I've had success putting a spoon on the oil and lifting it off. The oil gets stuck to the back of the spoon and I just wipe it off on a paper towel.
- Don't put the oil down the drain - it might clog up your pipes. Instead, put it in a plastic bag and throw it out in the trash.

Here's what the cold soup looks like once the oil is removed. It's like jell-o, sticky and full of collagen and minerals.

The soup will "melt" when you heat it up.

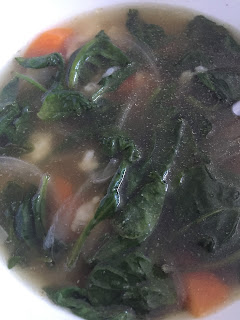
Sometimes we'll sautĂ© a little spinach and add it to the heated up soup. Season with salt and that's it!

The soup is incredibly flavorful and just warms you up. Perfect for the winter, especially when you're battling a cold or flu.

A lot of people freeze the broth (without veggies) and use it just like they would a store-bought broth. We've done that on occasion as well but much prefer to have it as soup. Our kid really loves it too and there's nothing more satisfying than hearing your kid slurp down bowl after bowl.

Hope you enjoyed my bone broth soup recipe. Happy Instant Potting!

Friday, September 29, 2017

Overnight oats recipe

Everything I need for overnight oats

Do you love oatmeal but have no time in the morning to whip up a batch? Here's my quick and easy recipe to make cold overnight oats.

Prep time: 5 mins

Ingredients:

  • Old-fashioned rolled oats (not quick oats or instant oatmeal)
  • Ground flaxseed
  • Plain yogurt (leave it out to make it dairy-free)
  • Cinnamon
  • Almond milk (regular milk, coconut milk, soy milk, etc. all work too)
  • Slivered almonds
  • Raisins
  • Jam

Instructions:

In a small container (I use a mason jar), add:
- Plain yogurt (about 1/4 of the jar)
- 5-6 almonds, slivered
- A small handful of raisins or other dried fruit
- A few dashes of cinnamon
- 1 tablespoon of ground flaxseed
- 1/4 teaspoon of jam for a hint of sweetness


Fill the rest of the jar with old-fashioned rolled oats


- Pour in milk until oats are covered
- Mix all the ingredients well
- Cover and put in the refrigerator overnight

Here's the finished product. The oats soaked up most of the liquid and yogurt overnight. The almonds give a little crunch and the jam and plumped raisins add a little sweetness. It's filling and delicious!


Add your own twist and vary up the recipe, just remember that whatever you add will get soggy overnight. I've been experimenting with other ingredients like peanut butter, vanilla, or other dried fruit. Sometimes I'll add some granola right before I enjoy it so there's a little crunch.

Make it gluten-free: Use gluten-free rolled oats
Make it dairy-free: Leave out the yogurt, instead use any type of non-dairy milk like soy, almond, cashew, coconut, hemp, etc.

Enjoy!